This project is aimed to make a small (and hopefully, self-sustaining) automated plant watering device suitable for a single potted plant. But it should be easily scalable to multiple pots if so desired. The main hardware components are rather cheap and are all sourced online:
-
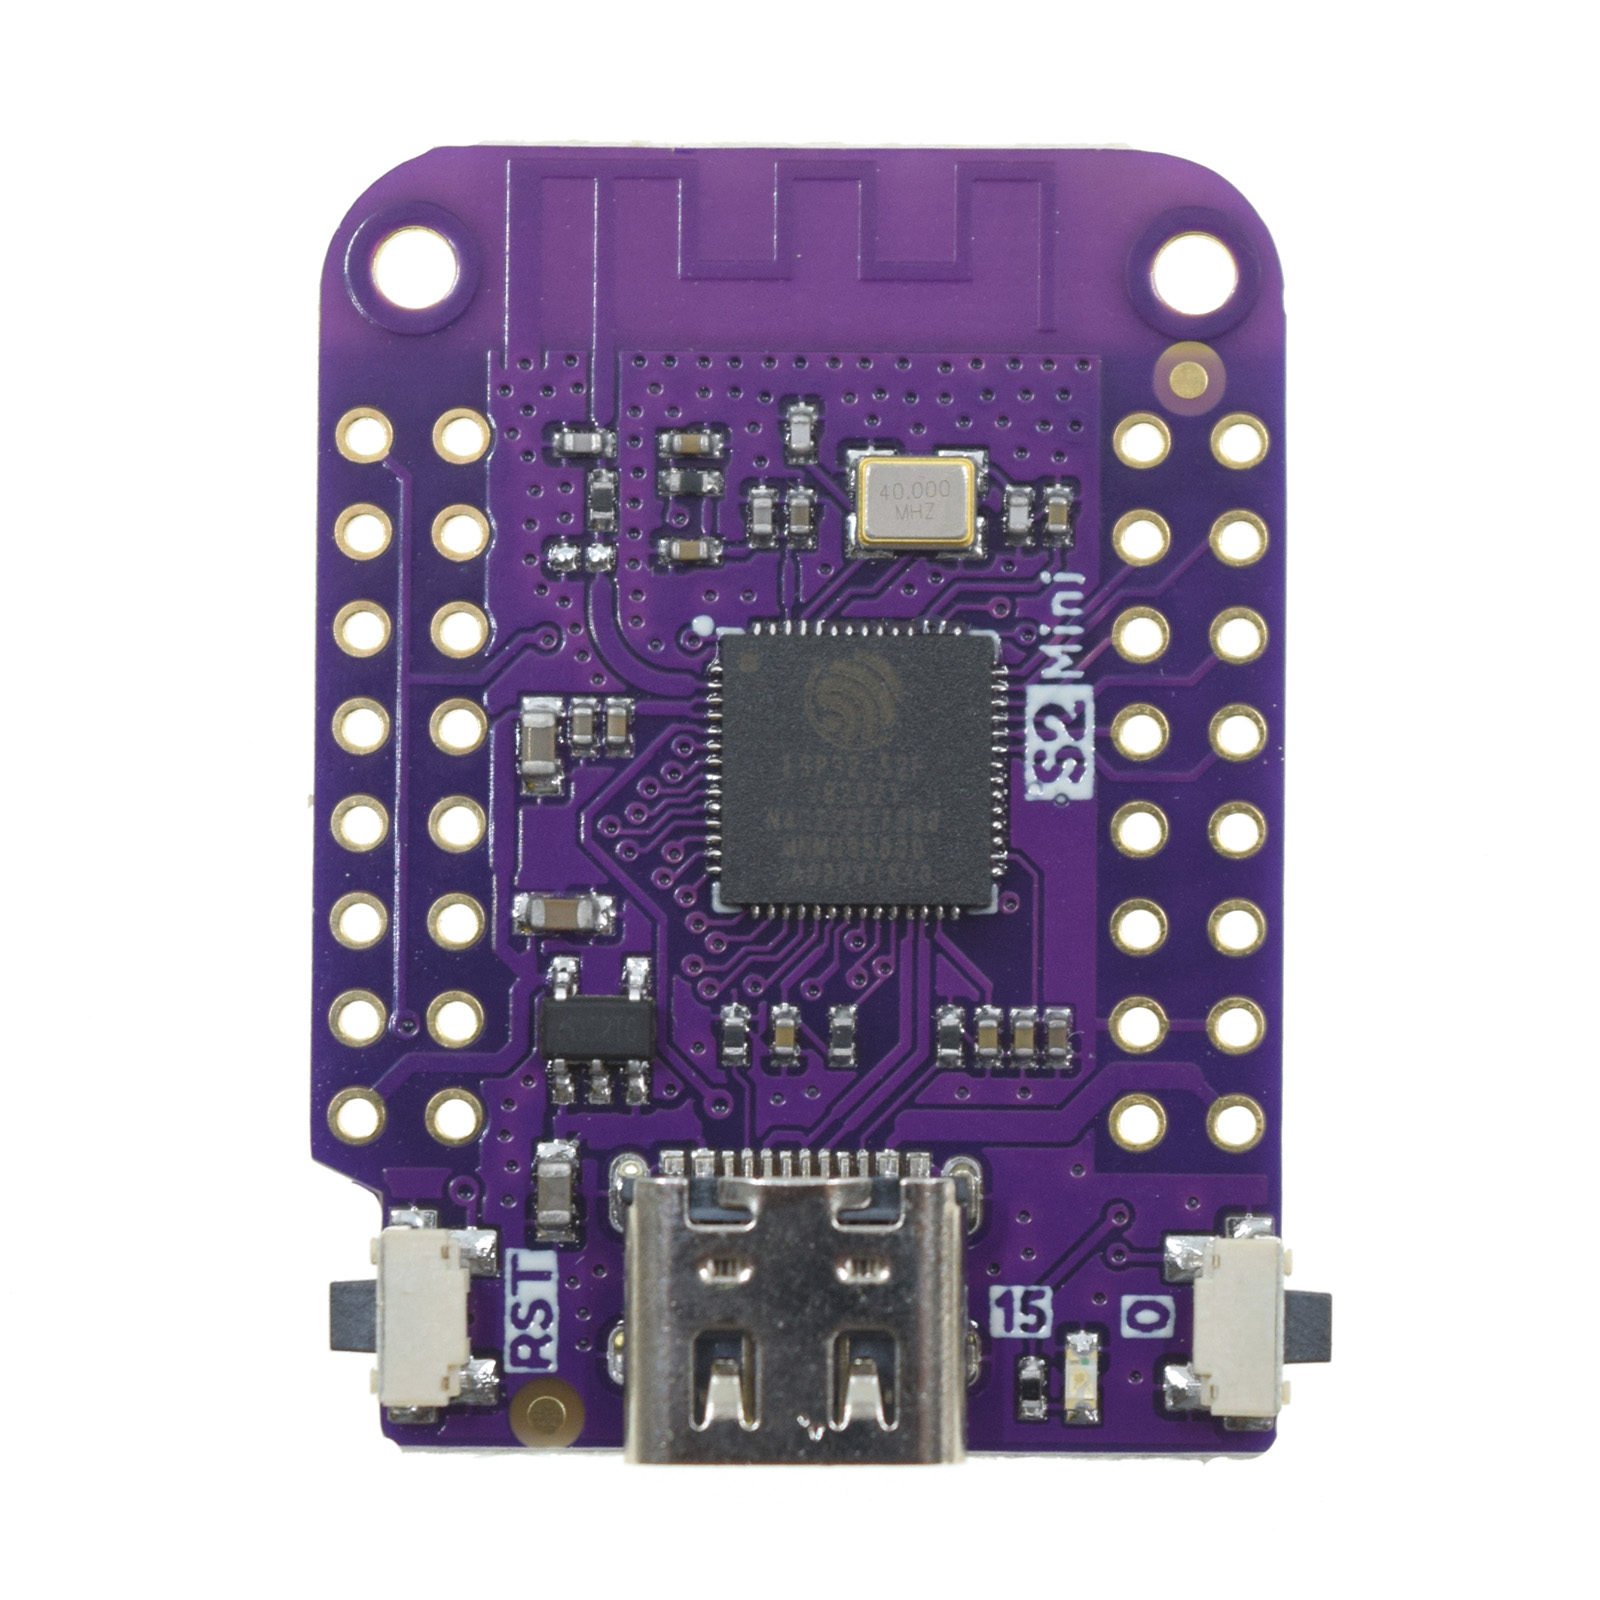
ESP32-S2-Mini
-
Capacitive soil moisture sensor
-
5V DC water pump


If you want to make your device cordless:
- 18650 LiOn battery
- Battery charging module (3-way: Solar, battery, output)
- 5-6V solar panel
- 5V - 3.3V step down module (3.3V for ESP32-S2-Mini power supply)
The device is WiFi-enabled and it can send logs to your Firebase Realtime Database periodically. It also checks the RTDB for firmware & config updates, and then performs the download+update if available.
- ESP32-S2-Mini,
ESP32-C3-Minior any ESP32-based devkit should work- DO NOT USE C3-MINI: It seems there are Wifi connectivity issues with the early WeMos Lolin C3-Mini boards (espressif/arduino-esp32#6430)
- USB connection to your host computer
- WiFi connectivity
- Depending on your ESP32 device, install the appropriate USB-serial driver
- Arduino IDE
- Install ESP32 boards package from "Boards Manager" in Arduino IDE
- Arduino libraries:
- Firebase_Arduino_Client_Library_for_ESP8266_and_ESP32
- FirebaseJson
- Google Firebase RealTime Database (Refer to Arduino examples for ESP32)
- Mad soldering skills
Mostly because of its small form-factor, as I wanted to fit everything in a small water-resistant casing. Most of the ESP32 dev boards are so cheap, some can be had for about USD 2, 3 dollars, yet has WiFi, some with Bluetooth LE (BLE), Real-Time Clock (RTC), multiple analogue-digital converters (ADC) and GPIOs, very low deep-sleep current, what's not to like? It's also very easy to use with Arduino IDE.
There is nothing in this Arduino sketch that is peculiar to ESP32-S2-Mini. So, it should work with other ESP32 hardware, maybe with a change of the pins used for ADC and GPIO output pin.
- ADC (for reading soil moisture level from soil moisture sensor)
- GPIO output pin (for on/off 5v water pump)
- connected to the "base" of transistor for switching water pump on/off.
- GPIO output pin (for supplying ~5.55mA @3.3v to soil moisture sensor. This allows for power-saving as we can switch off the soil moisture sensor when necessary)
- TODO: ADC to monitor battery level
TODO:
This sensor requires 3 connections: VCC, GND, and SIGNAL pin.
On the ESP32, I used a GPIO as output to supply the 3.3V VCC, and an ADC connected to SIGNAL. GND is connected to a common ground. All these can be connected without resistors, diodes, etc.
It should be noted that using 3.3V for the sensor is not ideal as the ADC digital range between "wet" and "dry" becomes quite small (~150 integer value). 5V is probably better, if available, although I did not try it.
Whether your setup is indoors or outdoors, waterproofing the sensor is important, as there is risk of it getting wet. And once the electrical components get wet, you may find that the sensor reading goes way off.
Unfortunately, I could not find off-the-shelf waterproof versions.
You can try following this article to DIY waterproof your sensor: https://www.instructables.com/Waterproofing-a-Capacitance-Soil-Moisture-Sensor/
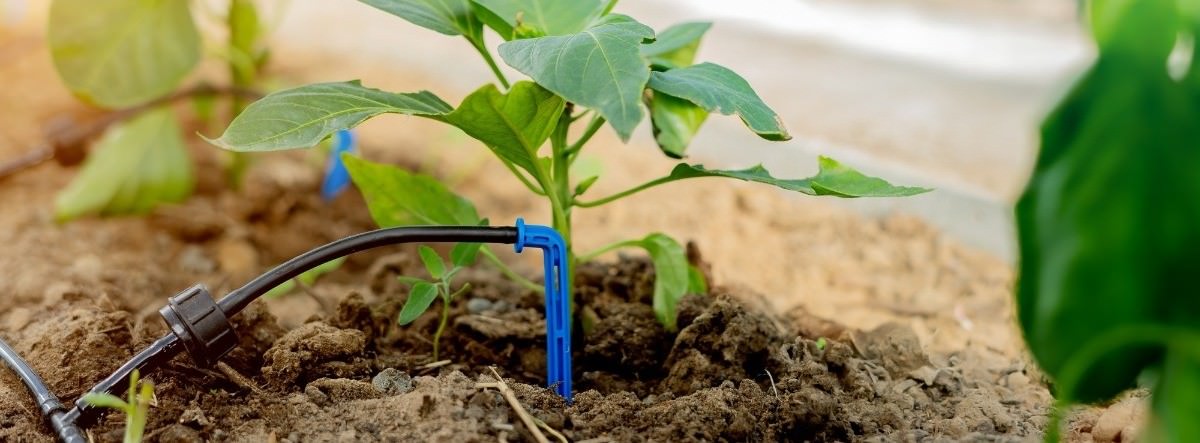
For this battery-powered project, there are several types of drippers, sprinklers, sprayers, etc.

The pump will require a higher power output than what a GPIO can provide, so I used a transistor and a GPIO output pin to switch it on/off. Depending on the specs of your pump, you may require a "better" transistor that can handle the throughput current. Or you may want to consider simply using a relay.
Note: The metal "legs" of the transistor can rust over time. So, make sure to waterproof/coat it for durability.
It is important to include a diode here to protect the transistor. Otherwise, you might find that your pump not working after awhile because the transistor is damaged.
Having a cloud database for this project has several benefits:
- Check on your device anytime, anywhere
- Firmware update OTA
- Have the device pull update file from the cloud database
- Set parameters on your device, remotely
- Data from multiple devices in one cloud location
- Your devices don't need to be running all the time. They can sleep and poll the database whenever to conserve power
- All the above means we can build a mobile and/or web app to manage all devices after deployment
- And of course, we get to learn about Firebase!
There are many articles, videos, that already cover Google Firebase and how to get started, so I will not be going into those details. Here, I used Firebase's Real-Time Database for telemetry data storage, and Cloud Storage for holding firmware binary files for OTA update.
What's needed:
- RealTime Database
- Email/Password Authentication
- Create an account in the Firebase console
- Cloud Storage
- To store firmware binaries for OTA updates.
ESP32 has an Espressif feature called "Preferences", which is basically a way of storing persistent data in the device's local filesystem. It's like a EEPROM equivalent for those who know what that is. I used this to abstract away customization from main code, which is important if you want multiple devices to use the same sketch.
Simply modify "CreatePreferences.ino" with your credentials and Arduino-upload to your device.
Select your ADC, GPIO pins and that should all the customization required (this should probably be in Preferences too, in future). Arduino upload to device and reset. This step will not overwrite your Preferences, so, not to worry.
The "Mini" boards do not have a built-in LED and I did not want to add one to drain the battery unnecessarily. You can always enable "DEBUG_LOG" define flag and use the Serial Monitor in Arduino IDE to ensure that the device is running. Or you can also check your Firebase RTDB for new entries based on the sleep/wake period.
You will most likely need to tweak your "dry" and "wet" thresholds, or even the sleep/wake period. To do this, you don't need to do a Arduino-upload. Just go to your Firebase RTDB, adjust the relevant values, and then set "update" to "true" (without quotes as it's a boolean value). When the device wakes up, it will check the "update" value, and update itself if "true". Once you see that the RTDB "update" is back to "false", it means that the device has updated itself with the new values.
You will need Firebase Cloud Storage for this.
- Export your sketch as binary from in Arduino IDE
- Upload the binary to your Firebase Cloud Storage and copy the URL with access token
- In your RTDB, create a pathname "/firmware/<model id>" where <model id> is a name you give to your family of devices. Under this path, create two key-value pairs:
- "latest" : "0.0.1" - where "0.0.1" is a version number greater than what is currently on the device. This number should also match the version number in the new binary.
- "url" : - paste the value from (2).
- In your RTDB, set "update" to true
When the device wakes up, it will check for OTA updates. Once the update is done, the device will set RTDB "update" value back to false
- I might want to explore keeping everything within a local network. i.e. have a local server (could be a low-powered device, e.g. another ESP32 with SDcard, Raspberry Pi, etc) running and collecting data from multiple devices.
- Experiment with using 18650 battery shields instead of cobbled-together parts.
- Experiment with 3V relay module instead of transistor.
- Port this code to ESP-IDF and optimize.
- Add more features:
- battery monitoring
- water reservoir monitoring
- allow configuration of sleep schedule