Create experiments
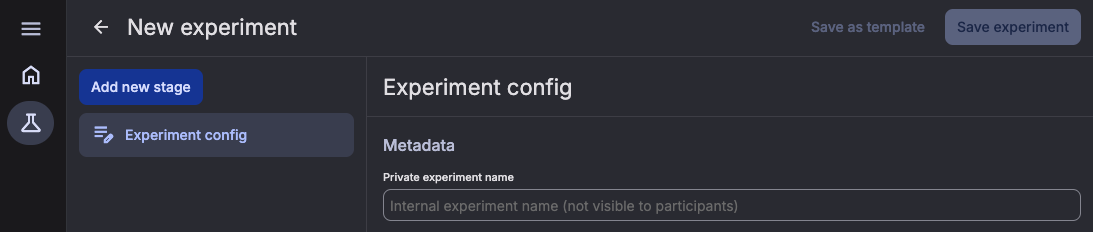
To create a new experiment, use the left sidebar to navigate to the "New experiment" page.
Tip: You can edit your experiment after creating it!
After setting up the experiment config and adding a specific game and/or individual experiment stages, use the button in the top right corner to save your experiment. This will make it available from the home page gallery.
Name: Private experiment name is required and only shown to researchers who have allowlist access to the platform and specific access to the experiment. Public experiment name is shown to participants (if left empty, participant will just see "Experiment" as the title).
Permissions: If private, only the creator will be able to edit and view the experiment. If public, the creator alone will be able to edit the experiment metadata and stage configurations, but all researchers with allowlist access to the platform will be able to view the experiment and manage cohorts and participants.
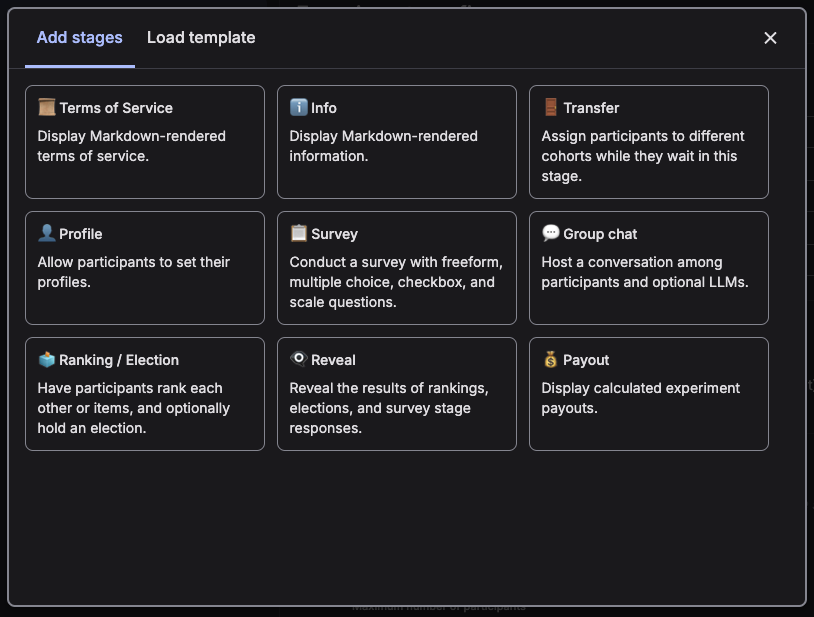
Use the "Add stage" button to add individual stages or load a template (pre-configured set of stages). More on the stages here.
Below are the settings you can configure for each stage:
- Stage description: The text will appear as a description on the stage.
- Info popup text: Adds an ⓘ icon to the stage, displaying this text when clicked.
- Help popup text: Adds help text for participants.
- Wait for all participants before starting stage: When enabled, the stage will not begin until all participants in the experiment are ready.
- Show participant progress: Displays a progress banner (e.g., "X of X participants have completed this stage") to track other participants’ progress.
Here is an example of a participant preview for an info stage with a description, info popup text, help popup text, and participant progress tracking enabled.
